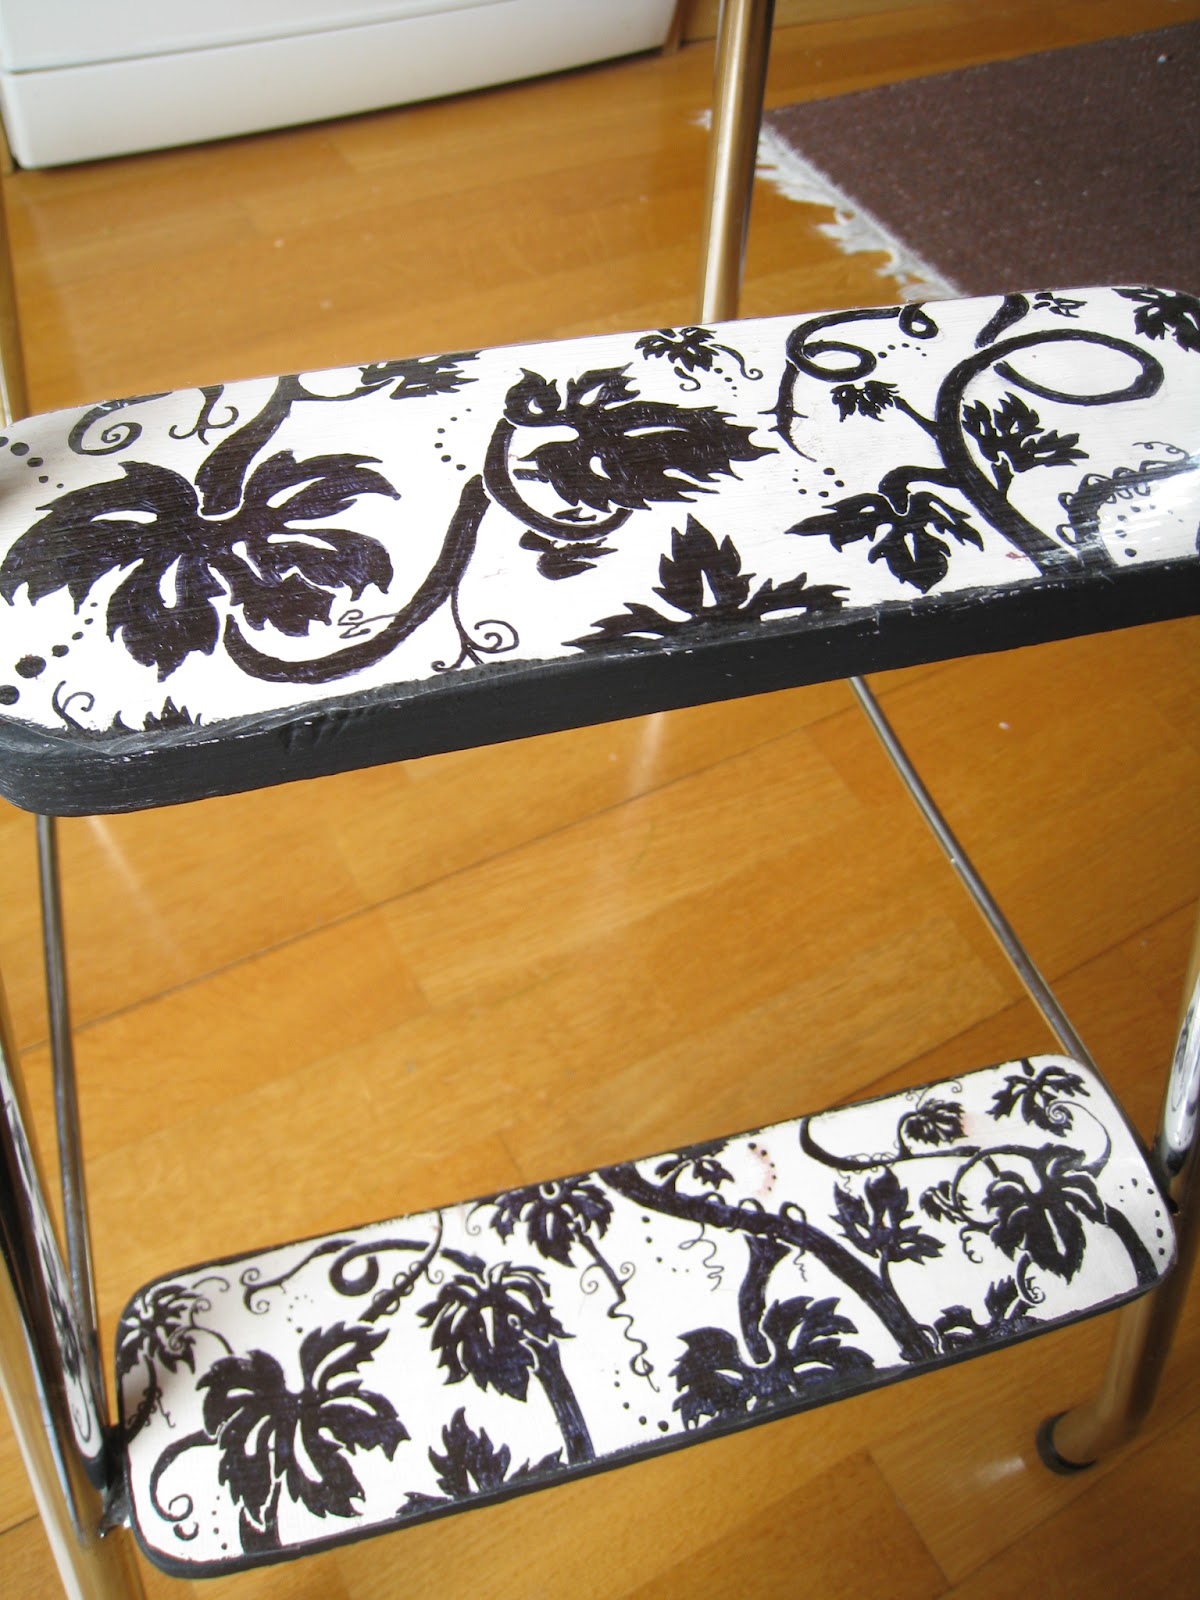
It's finally ready and covered with plastic. My old kitchen stool actually looks cool now!
As I was talking in the earlier blog entry, I would do a tutrial on how to cover the stool's surface with plastic. This will help to keep the colours. Please keep on reading if you want to know how I did it :)
Tutorial
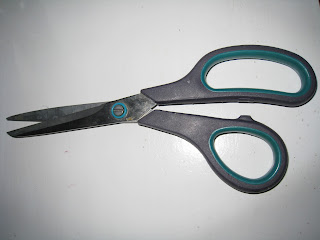 |
| Sharp Scissors |
 |
| Adhesive plastic |
|
|
- First, Measure the stool. Mine was about 26cm x 22 cm. I cut a piece of the plastic which was about 28cm x 24 cm.
- Turn the adhesive plastic so that the plastic side is facing the floor and the paper side up.
- Now make a fold in the paper following a line:
Now it's time to connect the plastic to the stool:
 |
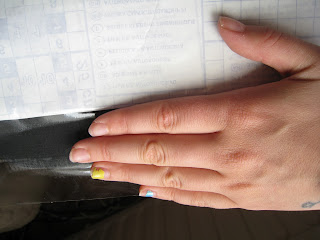
| Press the plastic onto the stool surface, and make sure that the plastic is not crooked! |
|
 |
| Hold onto the plastic as.... |
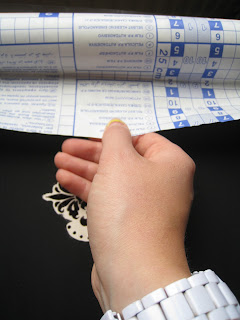 |
| you pull the paper at the same time. Make sure that you press the plastic onto the wooden surface as you pull. |
 |
| Now it's time to cut! I like to do small cuts in the corners before starting the actual cutting. | |
|
 |
| Always keep the plastic in a vertical position, this makes the cutting easier. |
Finally you just need to press the plastic onto the wooden surface tigtly, and you're finished!


No comments:
Post a Comment